News
- Home
- Getting Started with PerfectLum | A Guide for Healthcare Professionals

Getting Started with PerfectLum | A Guide for Healthcare Professionals
- August 24, 2025
- Shamsul
Getting Started with PerfectLum | A Guide for Healthcare Professionals
In the field of medical imaging, the smallest details could have the biggest impact on patient care. The accuracy and consistency of what you see on your display monitor are not just a matter of preference—they are a critical component of diagnostic confidence and patient safety. This is where a solution like PerfectLum comes in.
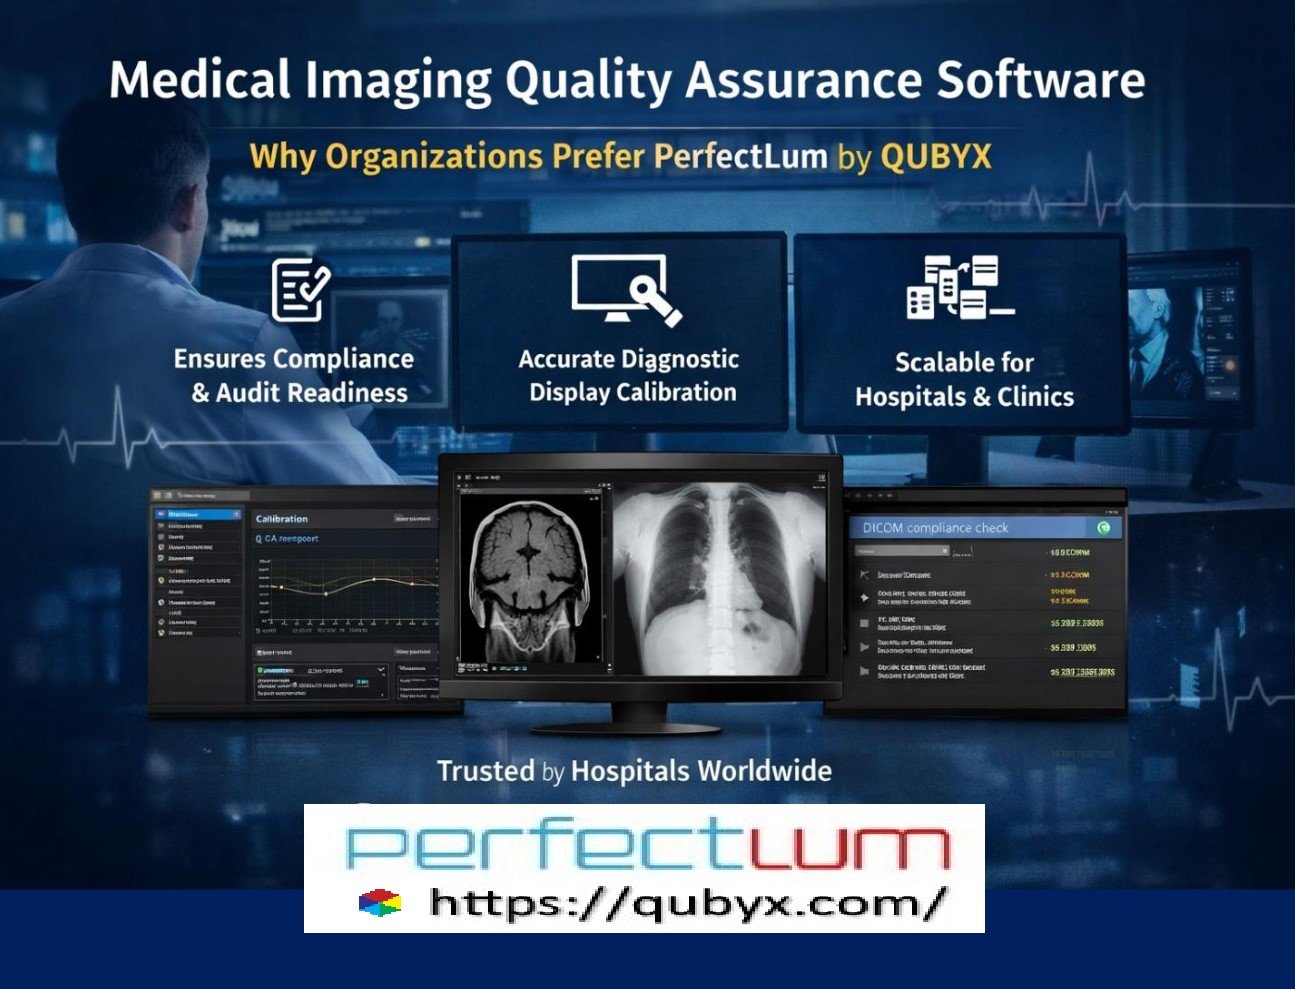
PerfectLum is a high-end medical display calibration and quality assurance software designed to ensure that your monitors meet the stringent standards required for medical diagnostics. It’s more than just a calibration tool; it’s a comprehensive suite that helps healthcare professionals maintain the quality and compliance of their imaging workstations.
This guide will walk you through the essentials of getting started with PerfectLum, from understanding its purpose to the basic steps of installation and calibration.
What is PerfectLum and Why is it Essential?
Medical images, such as X-rays, CT scans, and MRIs, contain a vast amount of grayscale and color information. To ensure an accurate diagnosis, these images must be displayed with absolute precision. However, monitors can drift over time, with their luminance and grayscale response changing due to factors like aging hardware and environmental conditions.
PerfectLum addresses this challenge by:
- DICOM Calibration: QUBYX PerfectLum calibrates your display to achieve the NEMA DICOM part 14 GSDF (Grayscale Standard Display Function) standard. This ensures that the brightness and contrast of your images are consistent and accurate, allowing you to see the finest details.
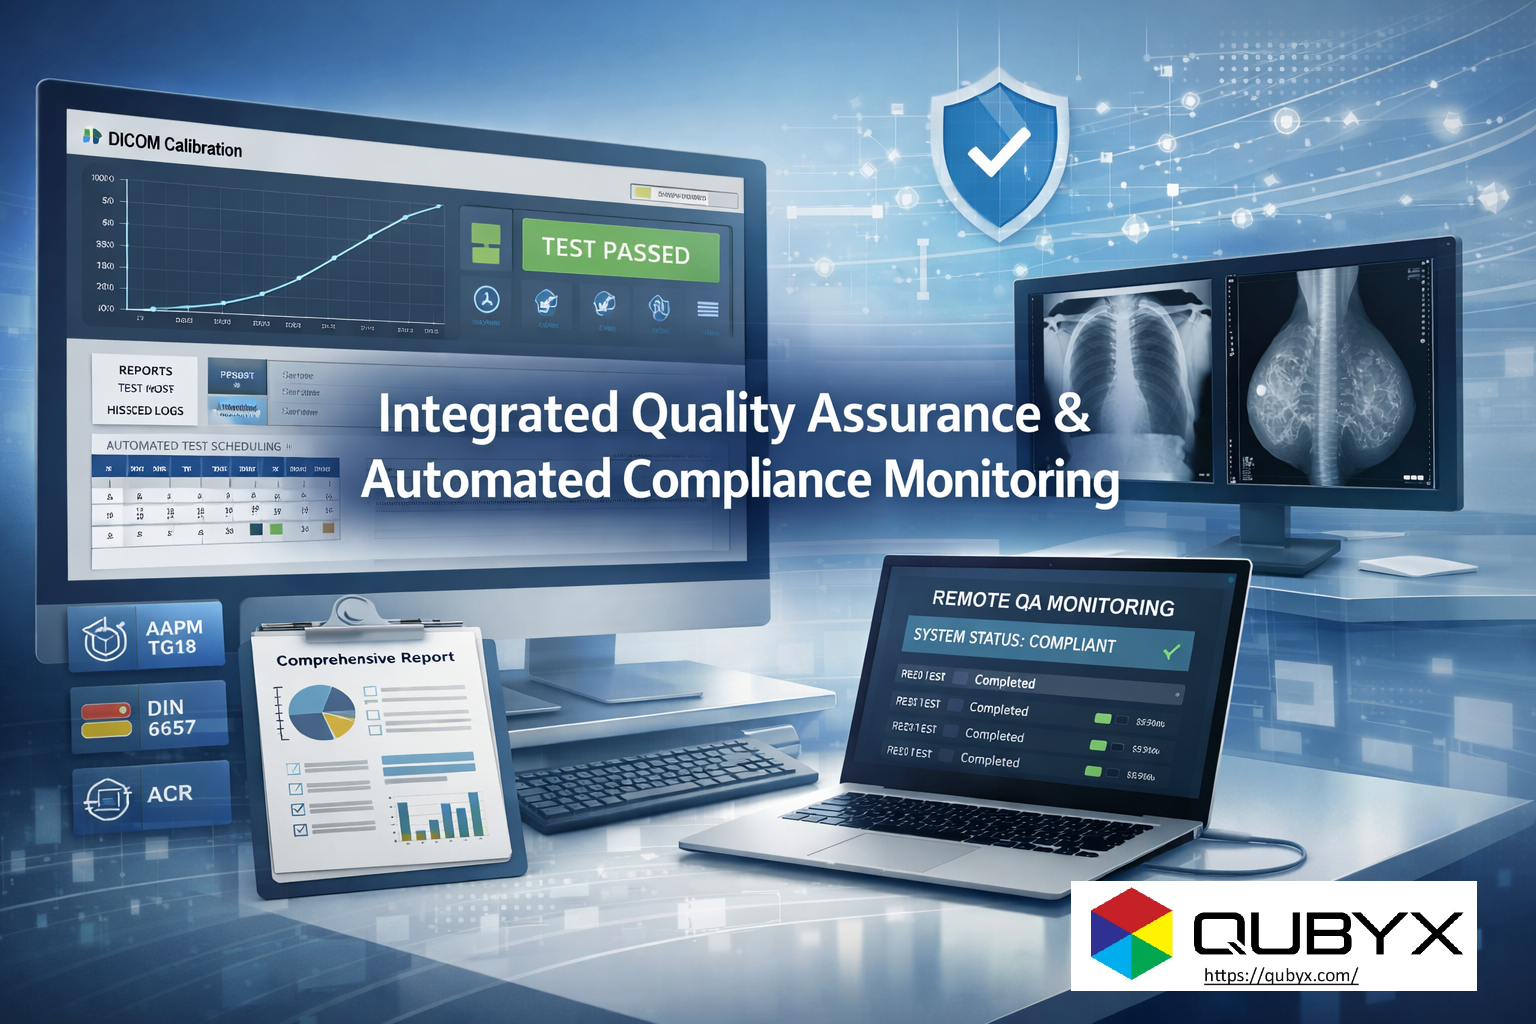
- Quality Assurance (QA) and Compliance: The software performs acceptance and constancy tests to verify that your displays conform to key medical standards such as AAPM TG18, DIN 6868-57, DIN 6868-157, and others. This is vital for maintaining compliance with regulatory requirements and for audit readiness.
- Consistency Across Displays: PerfectLum ensures that an image will look the same on every display within your facility, a crucial feature for multi-head display systems and for ensuring consistency between different workstations.
- Hardware and Software Flexibility: PerfectLum is designed to work with a wide range of monitors, graphics cards, and measurement devices, making it a versatile solution that can be integrated into most existing setups.
By using PerfectLum, healthcare professionals can avoid the risks associated with uncalibrated displays, such as missed details, misdiagnoses, and potential legal exposure. It provides a robust and verifiable method for proving the quality and maintenance of your diagnostic displays.
Getting Started: A Step-by-Step Guide
The process of getting started with PerfectLum involves a few key steps. While the software is designed to be user-friendly, a basic understanding of the process can make the experience smoother.
1- Pre-Installation Check
Before you begin the installation, it’s important to ensure your system meets the minimum requirements and that you have all the necessary components.
- Hardware: You will need a compatible monitor and a colorimeter or photometer (a measurement device) to perform the calibration.
- Software: PerfectLum is well-suited with both Windows and Mac operating systems.
- License and Dongle: You will need a valid software license and, for some versions, a USB dongle for protection and use on a single computer at a time.
2- Intalation
The installation process is typically straightforward.
- Download and Run the Installer: Download the PerfectLum installer from the official source and run it on your workstation.
- Follow On-Screen Instructions: The installation wizard will guide you through the process.
- Install Sensor Drivers: If your measurement device requires specific drivers, you will need to install them as well.
- Connect Your Device: Plug in your colorimeter or photometer to your computer’s USB port.
3- Setting Up and Calibration
Once the software is installed, you can begin the setup and calibration process.
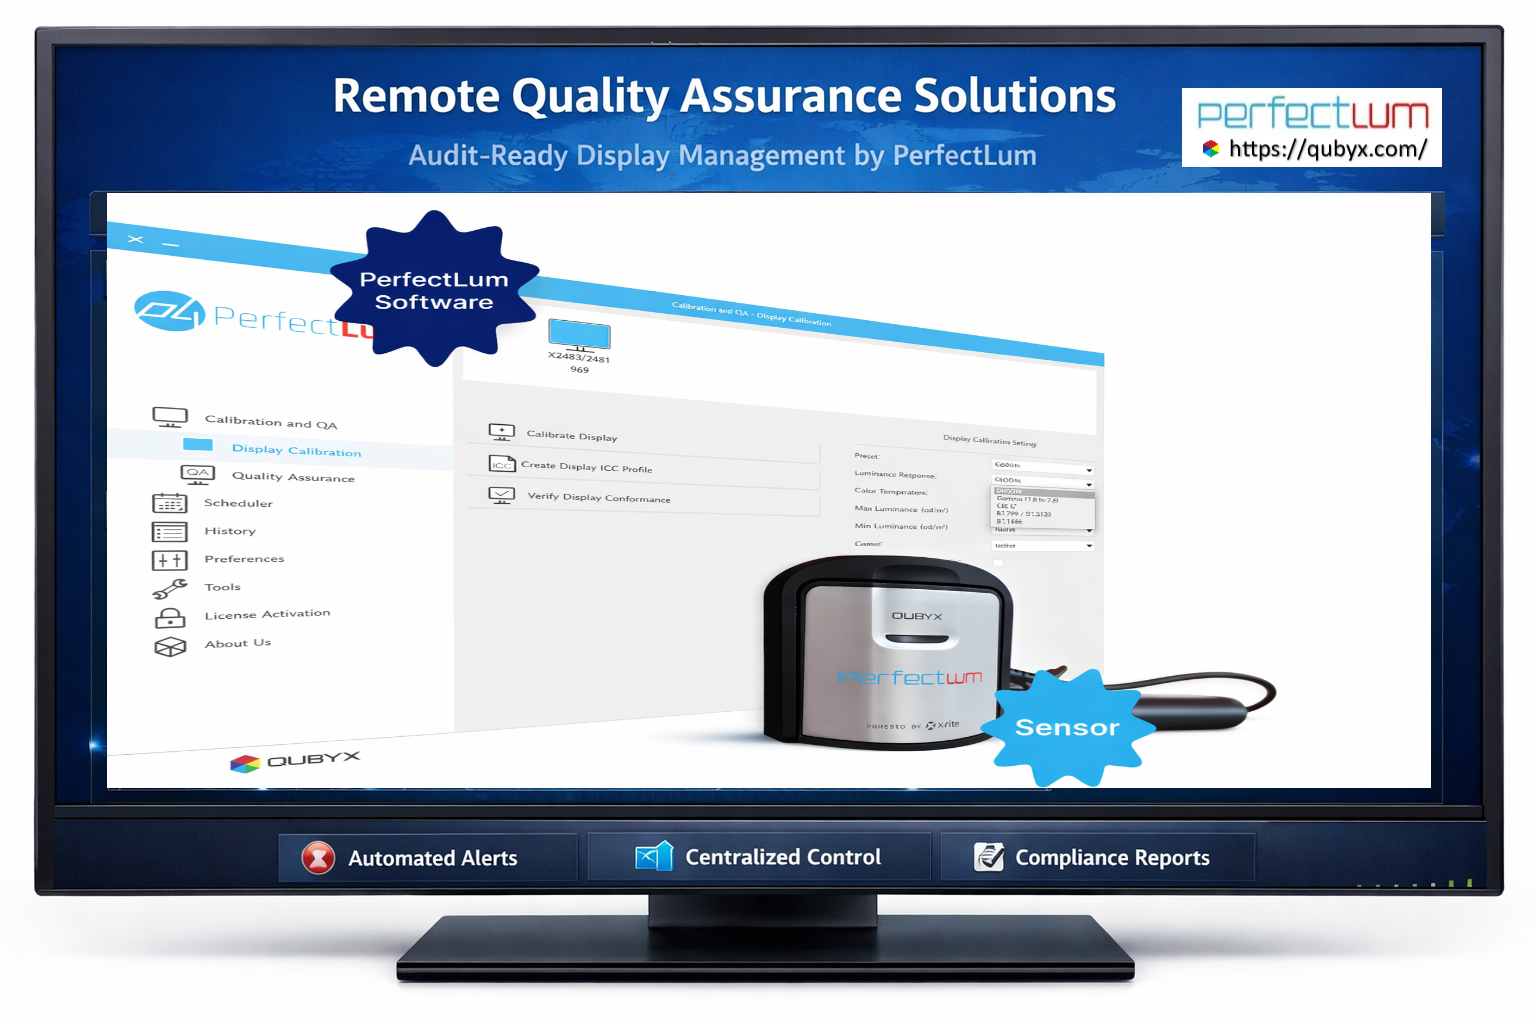
- Launch PerfectLum: Open the PerfectLum application.
- Select Your Display and Sensor: The software should automatically detect your connected display and measurement device. If not, you may need to select them from a dropdown menu.
- Choose the Calibration Standard: Select the medical standard you want to calibrate to, such as DICOM part 14 GSDF.
- Run Calibration: The software will guide you through the calibration process. It will display a series of test patterns, and you’ll be instructed to place your measurement device on the screen. PerfectLum will then automatically adjust the display’s settings (luminance, color temperature, gamma correction) to meet the selected standard.
- Generate a Report: After the calibration is complete, PerfectLum generates a report documenting the process and the results. This description serves as a record of your display’s compliance.
4- Scheduling and Remote Management
For a quality maintenance suite, PerfectLum offers advanced features:
- Scheduling: You can schedule future calibration and QA tasks to ensure your displays are consistently checked and maintained.
- Remote Management: With QUBYX PerfectLum, a system administrator can manage and verify a large number of displays across a facility or network from a single location. This feature is particularly useful for teleradiology and large healthcare networks.
Common Troubleshooting Tips
While PerfectLum is designed for a seamless user experience, you may encounter minor issues. Here are a few things to check:
- Measurement Device Not Detected: Ensure the USB cable is securely connected and that the necessary drivers are installed.
- Calibration Fails: Check that your monitor and graphics card are compatible. Make sure there are no other applications running that might interfere with the display settings.
- Software Updates: Keep your PerfectLum software and sensor drivers up to date to ensure optimal performance and compatibility.
- “Export/Import Common Settings”: This feature is a convenient way to back up your settings or apply the same configurations across multiple machines, saving time during installation.
Conclusion
PerfectLum is an authoritative and reliable tool for healthcare professionals who trust on accurate medical imaging. By following this guide, you can confidently get started with the software, ensuring that your displays are calibrated to the highest standards, maintaining quality, and ultimately, contributing to better patient outcomes. Always refer to the official PerfectLum user manual for detailed instructions and information specific to your version of the software.
Visit qubyx.com to learn more about PerfectLum’s abilities for medical and professional imaging, making it the perfect companion everytime for both hospital-based and remote radiologists.
Related Posts
- February 5, 2026
- News
Medical Imaging Quality Assurance Software Why Organizations Prefer PerfectLum by
- February 4, 2026
- News
QUBYX Software Reseller Program Start Your Reseller Journey Today
- February 3, 2026
- News
Elevate Your Standards with Remote Quality Assurance Solutions In


