
News
- Home
- Turn Any Monitor Into DICOM-Compliant Display
Turn Any Monitor Into DICOM-Compliant Display
- October 11, 2025
- QUBYX Team
Turn Any Monitor Into DICOM-Compliant Display
Turning a Commercial Monitor into a DICOM-Compliant Diagnostic Display (Without the Premium Price Tag)
Focus: How QUBYX OS Tools leverages embedded 3D LUTs and ICC profiles to align affordable, off-the-shelf displays to DICOM-Compliant Part 14 GSDF—reducing reliance on $10,000+ “medical-grade” monitors.
Executive summary | DICOM-Compliant
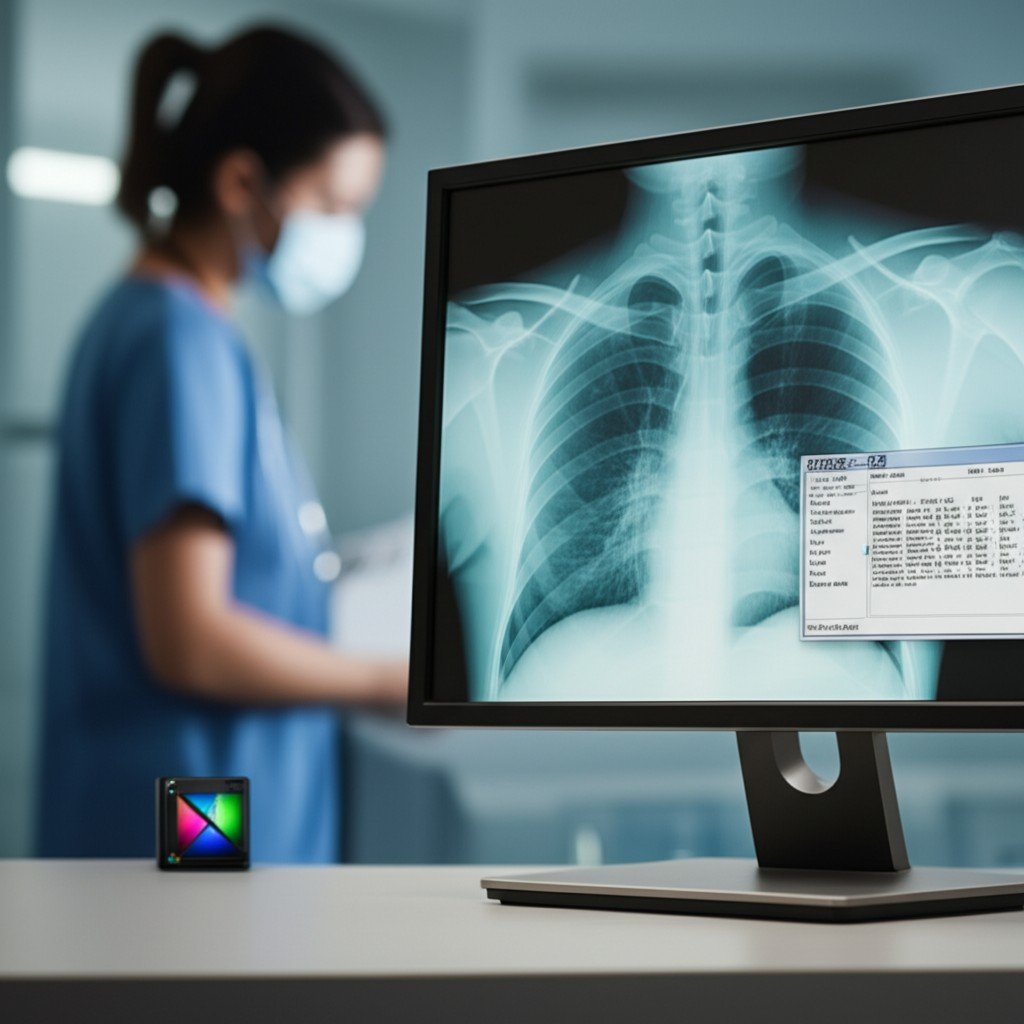
Most “medical-grade” monitors command five-figure price tags because they ship with factory-integrated calibration, tight uniformity controls, and bundled QA utilities. But if your real goal is diagnostic compliance—specifically, DICOM-Compliant Part 14 GSDF grayscale performance with verifiable QA—then you can achieve it with commercial IPS displays plus software-first calibration:
-
QUBYX OS Tools generates advanced device-link ICC profiles with embedded 3D LUTs that correct tone response and chromaticity at the GPU/output level, not just in the OSD.
-
Paired with a decent 10-bit pipeline (GPU + display), a calibration sensor, and routine QA, you can bring mainstream displays into DICOM-Compliant GSDF conformance and maintain them over time—at a small fraction of the cost.
The result: diagnostic-grade accuracy without a premium hardware upgrade cycle.
Why DICOM-Compliant Part 14 GSDF is the North Star
Radiology hinges on the visibility of subtle contrast steps across the grayscale. DICOM-Compliant Part 14 GSDF defines a luminance response curve that maps pixel values to perceptually uniform “Just Noticeable Differences” (JNDs). A compliant display ensures:
-
Consistent grayscale from black to peak luminance (no crushed shadows or blown highlights).
-
Perceptual uniformity across brightness steps so sub-tle lesions aren’t masked.
-
Repeatability across workstations and time.
Traditionally, medical monitors meet GSDF via internal LUTs, temperature-stabilized backlights, and vendor QA software. A software-first approach reproduces the same end-state using the GPU and ICC/3D LUT correction, validated against the same metrics.
The Software-First Path: ICC + Embedded 3D LUTs
What’s different vs. “hardware calibration”?
-
Hardware calibration writes to a monitor’s internal LUT(s) via proprietary tools.
-
Software-first calibration writes a 3D LUT + supporting 1D shaper LUTs to the GPU/output pipeline and wraps it in a device-link ICC profile. Applications and OS-level color management apply the correction consistently.
Why it Works – DICOM-Compliant
-
Higher-order correction: A 3D LUT corrects non-linear interactions between channels (not just per-channel gamma), enabling precise neutral gray tracking—a must for GSDF.
-
Device-link ICC consolidates source→display transforms into one optimized profile, minimizing rounding errors and ensuring the mapping you verified is the mapping you use.
-
Full-stack control: Coupled with EDID detection, bit-depth awareness, and measurement-guided optimization, you can force a commercial panel to behave like a calibrated medical device for grayscale visualization.
What you Need (and what you don’t)
Recommended display characteristics
-
Panel: IPS or similar with stable viewing angles.
-
Native luminance: ≥ 350 cd/m² (500–600 cd/m² is ideal for headroom).
-
Black level/contrast: As low/high as possible; local dimming off during calibration.
-
Uniformity: ≤ 10–15% variation across screen is workable (we’ll manage the rest with QA).
-
Bit depth: End-to-end 10-bit path (GPU → cable → display) preferred; 8-bit + FRC can still pass GSDF with careful LUTs.
System components
-
GPU: Professional or recent consumer GPU supporting 10-bit output and custom LUTs.
-
Sensor: A calibrated colorimeter (fast) or spectrophotometer (gold standard for reference and sensor profiling).
-
Software: QUBYX OS Tools (open-source) for LUT/ICC generation and QA automation; PerfectLum (optional companion) for enterprise-grade scheduling, reporting, and fleet QA.
You don’t need: a $10,000 monitor, vendor-locked dongles, or proprietary “hardware-only” toolchains.
Step-by-Step: From Commercial to DICOM-Compliant
1) Prepare the Environment
-
Warm-up the display for 30–45 minutes.
-
Control ambient light: Use consistent low-glare conditions; measure ambient illuminance if possible.
-
Reset OSD: Set to neutral mode (no dynamic contrast, sharpness off, uniformity compensation off unless it measurably improves evenness without breaking LUT precision).
-
Set baseline: Choose a target white (e.g., D65) and peak luminance (e.g., 350–450 cd/m²) with black as low as achievable.
2) Baseline Measurement
-
Use the sensor to record:
-
Luminance response (black → white ramp).
-
Neutral gray tracking (a* and b* near zero across steps).
-
Uniformity (5 or 9-point) to understand panel variation.
-
-
Save a baseline report.
3) Generate the Correction with QUBYX OS Tools
-
Profile acquisition: Measure a comprehensive set of patches—dense in the low luminance region to resolve shadow steps critical for radiology.
-
Build 1D shapers + 3D LUT:
-
1D shapers linearize each channel and set the GSDF target tone curve.
-
The 3D LUT corrects cross-channel non-linearities to keep grays neutral and maintain GSDF spacing across the full range.
-
-
Export a device-link ICC profile embedding the LUTs and your target conditions (white point, peak luminance, GSDF mapping).
4) Apply and Lock the Pipeline
-
Load the device-link ICC at the OS/GPU level.
-
Verify 10-bit output is engaged; ensure apps that bypass color management (e.g., some PACS viewers) can be bound to the OS LUT path or use the same pipeline hook.
-
Disable conflicting OSD features that would distort the calibrated response.
5) Validate Against DICOM-Compliant Part 14 GSDF
-
Run constancy checks: compare measured luminance steps to GSDF; examine JND deviations and ΔL/L thresholds.
-
Check grayscale neutrality (ΔE00) at multiple code values; confirm no chromatic tints in shadows or highlights.
-
Save a calibration + validation report and store it centrally (for audits).
6) Set up ongoing QA | DICOM-Compliant
-
Weekly/Monthly constancy tests: quick GSDF step checks (per TG18/TG270 practices).
-
Quarterly uniformity and drift checks; recalibrate if the drift exceeds thresholds.
-
Annual full recalibration and documentation.
What “DICOM-Compliant” Looks Like in Practice
A display is considered GSDF-compliant when its measured luminance response across standardized grayscale steps closely follows the GSDF curve within accepted tolerances (low JND error), while maintaining:
-
Neutral grayscale (ΔE00 low across steps),
-
Stable peak luminance and black level within targets,
-
Repeatable results (constancy tests) over time.
QUBYX OS Tools produces human-readable QA reports that demonstrate measured conformance before/after calibration and at each scheduled QA interval. For hospitals, this provides the auditable trail needed for policy and accreditation reviews.
Cost Model: The Math that Changes the Budget Conversation | DICOM-Compliant
Traditional path (per seat):
-
Medical-grade 5MP or 12MP monitor: $8,000–$15,000
-
Vendor software + service: $500–$1,500/year
Software-first path (per seat):
-
Quality IPS commercial display: $400–$1,200 (size & resolution dependent)
-
Colorimeter (shared across 10–20 seats): $250–$350 each
-
QUBYX OS Tools: open-source; optional enterprise QA via PerfectLum as needed
-
Time to calibrate + validate per seat: typically < 1 hour for full setup; minutes for constancy checks
Result: Savings of 70–90% per seat, with centralized QA that scales.
Where Software-First Shines (DICOM-Compliant)
Big wins
-
Fleet refresh savings: Extend the life of existing displays by restoring GSDF compliance.
-
Vendor lock-in broken: Use a broad range of commercial monitors; standardize on QA process, not brand.
-
Remote & telerad ready: Calibrate anywhere, validate anytime, centralize reports.
Practical limits
-
Uniformity: If a panel’s spatial uniformity is very poor (>15–20% deviation), no LUT can fix the physical panel; choose a better unit.
-
Peak luminance/black floor: Panels with insufficient luminance or high black levels may struggle to hit stringent targets in bright rooms.
-
Regulatory context: Local regulations or modality-specific requirements may still call for particular certifications. Always align with your radiology leadership and QA policy.
Implementation Blueprint for Hospitals & Imaging Centers
-
Policy & targets
-
Adopt GSDF targets, acceptance/constancy tolerances, and test intervals (align with TG18/TG270 practices).
-
Define ambient light standards for reading rooms.
-
-
Procurement
-
Standardize on two or three vetted commercial monitor SKUs with documented uniformity/luminance performance.
-
Purchase shared sensors (1 per 10–20 seats).
-
-
Pilot
-
Calibrate 3–5 units with QUBYX OS Tools; validate and document GSDF conformance.
-
Collect radiologist feedback on softcopy perception (especially in low-contrast regions).
-
-
Scale
-
Roll out to the fleet; schedule QA jobs (weekly constancy, quarterly drift checks, annual recal).
-
Centralize reports (PerfectLum QA Server optional) for audits and trend analysis.
-
-
Sustain
-
Replace only panels that fail uniformity/luminance over time—not the entire fleet on a fixed calendar.
-
Technical Deep-Dive: Why 3D LUTs Matter for GSDF
GSDF is not a simple gamma curve. It’s a perceptual mapping that needs precise control across the grayscale. Real displays exhibit cross-channel non-linearities: fixing red, green, and blue independently (with only 1D LUTs) often leaves gray tints or banding.
A 3D LUT addresses this by jointly optimizing all three channels in a 3D color space. In practice:
-
1D shapers: set the coarse GSDF shape and maximize code value usage in critical shadow zones.
-
3D LUT: fine-tunes neutrality and interaction terms so that every gray step stays on the neutral axis while hitting GSDF JND spacing.
-
The resulting device-link ICC enforces exactly this mapping, minimizing software-to-driver discrepancies.
The net effect is clean, artifact-free grayscale that tracks GSDF and remains neutral, which is what radiologists perceive as DICOM-Compliant “diagnostic-grade.”
QA: What to Measure and How Often
-
Acceptance test (post-calibration):
-
GSDF conformance (JND error/ΔL/L across steps)
-
Peak luminance, black level, contrast
-
Grayscale neutrality (ΔE00)
-
Uniformity map (center vs corners)
-
-
Constancy tests:
-
Weekly or monthly: quick GSDF step verification + spot checks for peak luminance.
-
Quarterly: drift and uniformity re-check, recalibrate if thresholds exceeded.
-
Annually: full re-profile and documentation.
-
Automate reminders, runbooks, and report storage. The “paper trail” is often as important as the pixels.
Troubleshooting Playbook
-
Banding after calibration: Ensure 10-bit output is active; reduce 3D LUT cube size only if memory limits force it; avoid OSD contrast tweaks after profiling.
-
Neutral gray looks warm/cool: Confirm target white (e.g., D65) and that no app-level color transforms override the device-link ICC.
-
Shadow details missing: Increase patch density in low-luminance region and rebuild the 3D LUT; re-target a slightly higher peak luminance for more code precision near black.
-
Mismatch between apps: Force OS-level LUT binding for the PACS/viewer, or configure the viewer to use the system color pipeline.
FAQ | DICOM-Compliant
Q: Can a commercial monitor truly replace medical-grade hardware?
A: For GSDF grayscale compliance and ongoing QA, yes—provided the panel meets basic luminance/uniformity needs and you use robust LUT/ICC calibration with scheduled QA. Some specialized use cases (e.g., high-megapixel mammography with stringent uniformity at extreme luminance) may still favor premium panels.
Q: What about ambient light?
A: Ambient light raises the effective black level. Control room illuminance and keep it consistent; your calibration target should match your actual reading environment.
Q: Will settings persist across reboots and app updates?
A: Yes—device-link ICCs and GPU LUTs are persistent when applied through the OS/QUBYX toolchain. Re-validate after major driver updates.
Q: How many seats can share one sensor?
A: Many sites share one meter across 10–20 seats; just maintain a checkout log and a quarterly cross-check against a spectro reference if available.
The Bottom Line
You don’t buy “compliance”—you measure and maintain it. With QUBYX OS Tools, embedded 3D LUTs, and device-link ICCs, you can:
-
Hit DICOM-Compliant Part 14 GSDF precisely,
-
Keep grays truly neutral,
-
Automate constancy tests and reporting,
-
And slash acquisition and refresh costs across your fleet.
Upgrade your pixels, not your budget. If you’re ready to pilot, start with three off-the-shelf IPS displays, a shared colorimeter, and QUBYX OS Tools. Calibrate, validate, document—then scale confidently.
Call to Action
Learn more about QUBYX OS Tools and PerfectLum Suite — the most advanced software-first calibration solutions for radiology, teleradiology, and clinical imaging environments.
Visit www.qubyx.com
To secure medical-grade display precision while reducing the recurring costs of proprietary hardware, the answer is clear: transition to a software calibration platform like QUBYX OS Tools (Free) and PerfectLum today.
Tags:
QUBYX OS Tools, DICOM Part 14 GSDF, medical display calibration, DICOM-Compliant, diagnostic monitor software, 3D LUT ICC profiles, radiology display QA, healthcare IT budget, affordable DICOM monitor USA, calibration software for hospitals, medical imaging USA
Related Posts


- May 24, 2026
- News

- May 16, 2026
- News
- May 14, 2026
- News