News
- Home
- Gigabyte Monitors with PerfectLum | Step-by-Step Integration Guide
Gigabyte Monitors with PerfectLum | Step-by-Step Integration Guide
- September 18, 2025
- Shamsul
Gigabyte Monitors with PerfectLum | Step-by-Step Integration Guide
Integrating Gigabyte Monitors with PerfectLum ensures you achieve diagnostic-grade accuracy and long-term compliance across imaging workflows. Whether you’re calibrating for DICOM Part 14, sRGB, or Rec.709, PerfectLum communicates with Gigabyte displays through DDC/CI or USB HID (on select models) to adjust internal LUTs, brightness, and contrast directly on the monitor. This step-by-step guide walks you through enabling DDC/CI, connecting your calibration sensor, running precise calibrations, and setting up scheduled QA checks. By the end, you’ll have a streamlined workflow that guarantees image quality, consistency, and regulatory compliance in both individual and enterprise environments.
Integration Guide: Gigabyte Monitors with PerfectLum
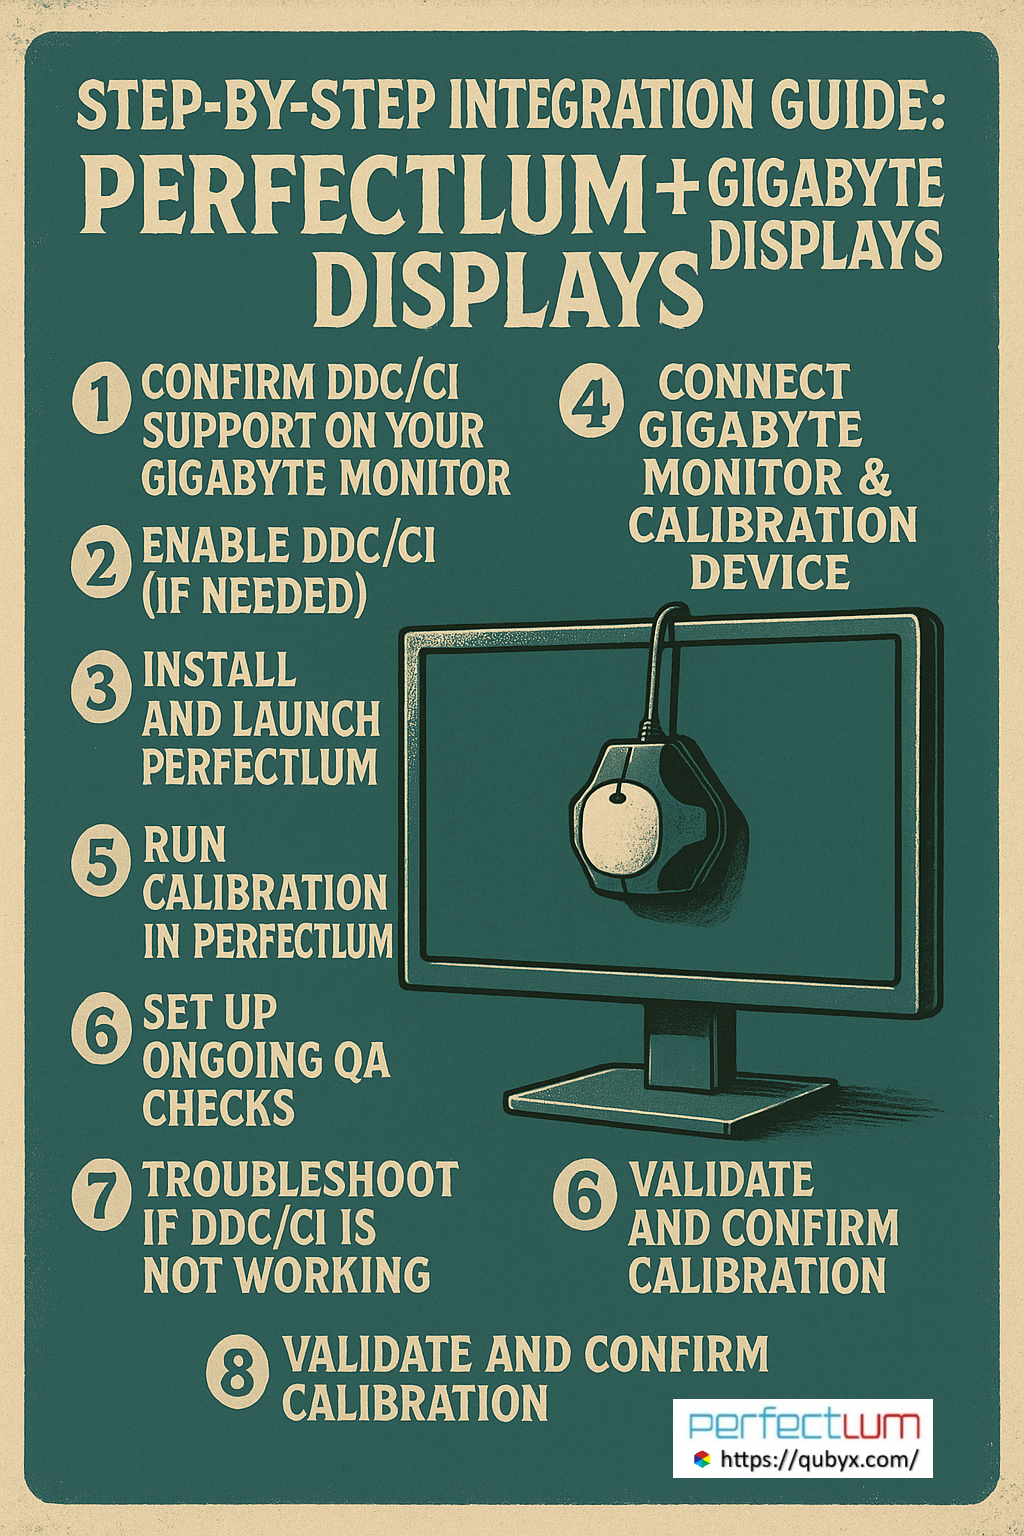
1- Confirm DDC/CI Support on Your Gigabyte Monitor
PerfectLum relies on DDC/CI (Display Data Channel / Command Interface) to communicate with displays for adjusting LUTs, brightness, and more—not just via the GPU but directly to the monitor. Most modern monitors, including many from Gigabyte, support DDC/CI.
Some Gigabyte models, like the M32U, support advanced control via USB (as an HID device) or DDC/CI over HDMI/DP. To check compatibility:
-
Enable DDC/CI via your monitor’s OSD menu (if available).
-
Consult your monitor’s manual or Gigabyte’s support pages for specifics for Gigabyte Monitors with PerfectLum.
2- Enable DDC/CI (if Needed)
Access the monitor’s OSD menu and locate the DDC/CI setting—usually under Settings, General, or System. Ensure it is set to “On” or “Enabled”. If disabled, PerfectLum won’t be able to adjust the display directly.
3- Install and Launch PerfectLum
Ensure you have the latest version of PerfectLum installed on your Windows or macOS system. The software supports a wide range of displays, graphics cards, and calibration tools.
4- Connect Gigabyte Monitor & Calibration Device
-
Connect your Gigabyte monitor via DisplayPort, HDMI, or USB (if using a model with HID control like the M32U).
-
Ensure your GPU drivers are up-to-date for smooth functionality.
-
Attach your calibration sensor (e.g., X-Rite i1Display Pro). PerfectLum should detect both the monitor and sensor.
5- Run Calibration in PerfectLum
-
Open PerfectLum and select your Gigabyte display.
-
Choose the appropriate calibration target: DICOM Part 14, sRGB, Rec.709, or a custom profile—depending on your use case.
-
PerfectLum will apply adjustments via the monitor’s internal LUT (via DDC/CI) or fallback to GPU LUT as needed.
6- Set Up Ongoing QA Checks
-
Schedule regular constancy checks (daily, weekly, or monthly).
-
PerfectLum generates reports and logs for compliance with standards like DIN 6868-157, AAPM TG18/TG270, and more.
-
In enterprise setups, use the PerfectLum Remote QA Server to manage multiple workstations.
7- Troubleshoot if DDC/CI is Not Working
If PerfectLum fails to control your Gigabyte monitor, try these steps:
-
Re-enable DDC/CI in the OSD menu; sometimes toggling it off and on helps.
-
Change cables or ports, as some HDMI cables or adapters may block DDC/CI signals.
-
Monitor resets or firmware updates might revert DDC/CI—and a factory reset followed by re-enabling DDC/CI may resolve it.
-
For advanced Gigabyte models (like M32U), control via USB HID may offer deeper control beyond standard DDC/CI.
8- Validate and Confirm Calibration
Once calibration is complete, verify the results:
-
Use PerfectLum’s built-in report tools to ensure conformance to your chosen standard.
-
For medical or diagnostic workflows, these reports serve as crucial documentation.
Summary Workflow – Gigabyte Monitors with PerfectLum
| Step | Action |
|---|---|
| 1⃣ | Enable DDC/CI on Gigabyte monitor through OSD |
| 2⃣ | Connect monitor + install PerfectLum + connect calibration sensor |
| 3⃣ | Run calibration using PerfectLum (DICOM / color standard) |
| 4⃣ | Schedule QA and generate reports |
| 5⃣ | Troubleshoot DDC/CI if calibration fails |
| 6⃣ | Validate results and ensure compliance |
With these steps, you can confidently integrate Gigabyte Monitors with PerfectLum into your imaging or calibration workflows.
Learn more about PerfectLum Bundles today and bring hospital-grade precision to every display you use.
PerfectLum Gigabyte integration, DDC/CI monitor calibration, Gigabyte M32U calibration guide, medical imaging calibration software, PerfectLum step-by-step guide, QA compliance DIN 6868-157 AAPM TG18, USB HID monitor control Gigabyte, Gigabyte display calibration with PerfectLum, monitor constancy checks PerfectLum, diagnostic imaging display compliance, Gigabyte Monitors with PerfectLum
Related Posts
- February 5, 2026
- News
Medical Imaging Quality Assurance Software Why Organizations Prefer PerfectLum by
- February 4, 2026
- News
QUBYX Software Reseller Program Start Your Reseller Journey Today
- February 3, 2026
- News
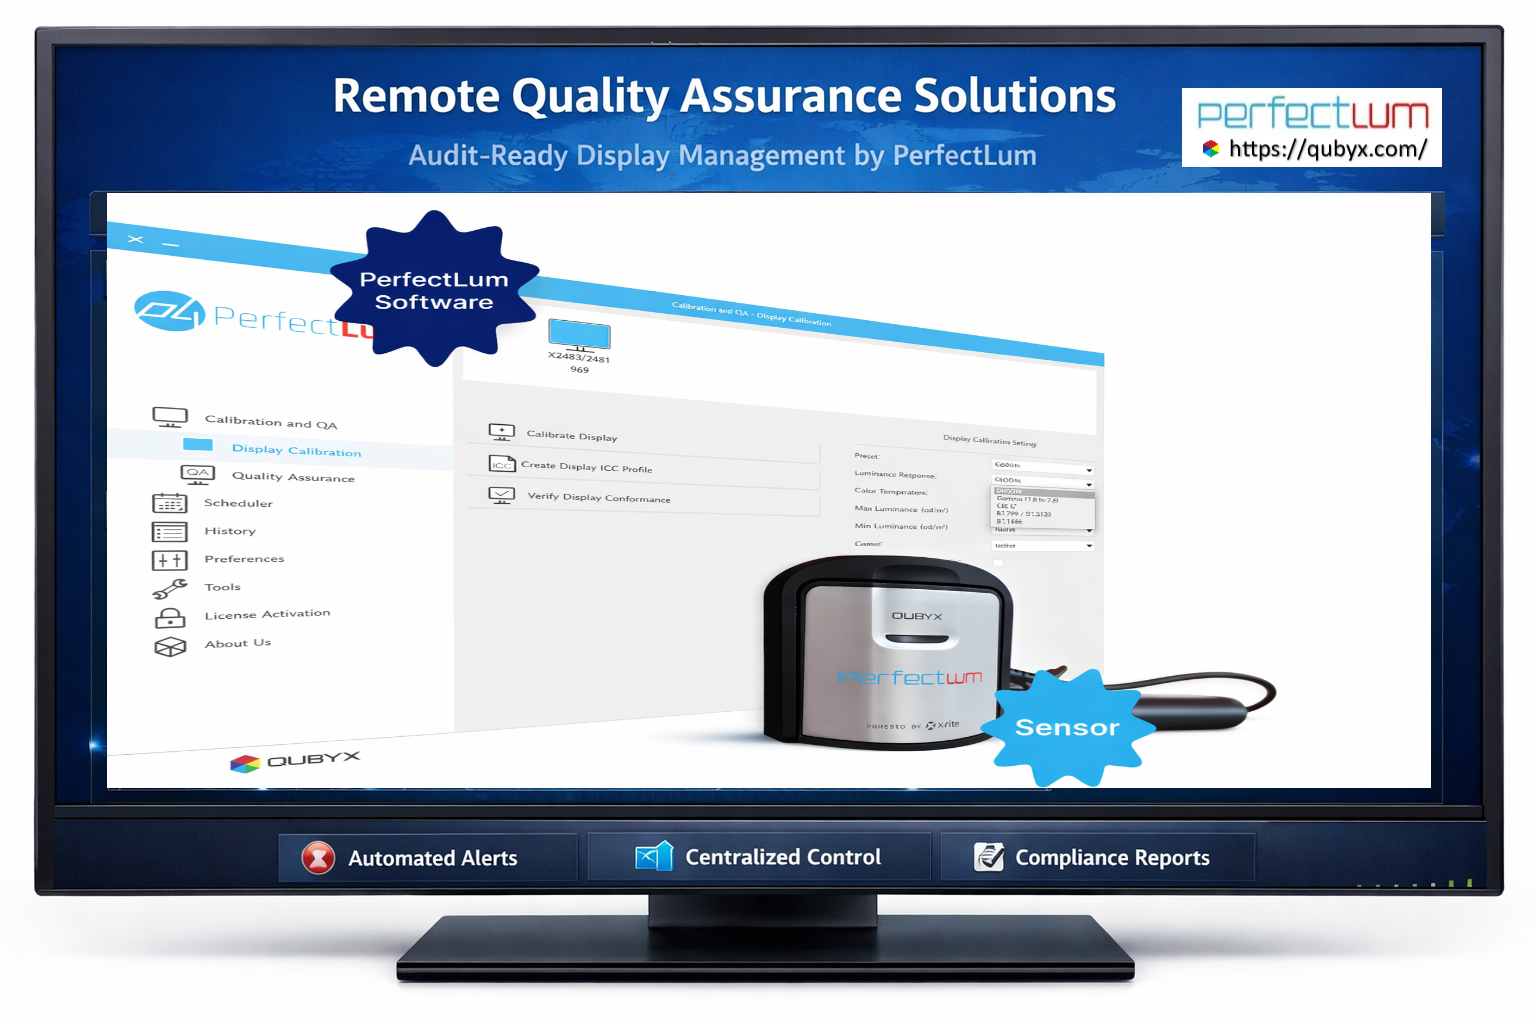
Elevate Your Standards with Remote Quality Assurance Solutions In

